If you are noticing drafty rooms, skyrocketing energy costs, or visible water damage around your windows, it’s likely time to consider window replacement. Upgrading to modern, energy-efficient windows is one of the best ways to boost your home comfort, slash heat loss, and elevate your property’s curb appeal.
However, many homeowners hesitate because they don’t know what to expect. How long does the window replacement timeline actually take?
At Premier North Windows and Doors Inc, we believe in complete transparency. Here is your step-by-step guide to the entire window installation process, from your first phone call to the final cleanup.
Phase 1: Initial Consultation and Window Selection
Every successful project begins with an initial consultation. A professional window contractor will visit your home to assess your current setup, look for signs of structural issues, such as water damage, and discuss your goals—whether you are looking for maximum energy savings or a design refresh.
During this phase, you’ll dive into window selection. You’ll choose the material—such as low-maintenance, durable vinyl windows or classic wood windows—and the styles that fit your home’s architecture. Popular options include:
- Casement windows (crank-out styles that offer excellent ventilation)
- Double-hung windows and single-hung options (classic sliders that move vertically)
- Sliding windows (perfect for wide openings)
- Picture windows (large, fixed panes designed to maximize views and light)
- Bay windows and bow windows (multi-pane configurations that project outward, adding character and space)
Phase 2: Ordering and Lead Time
Once you choose your styles, a technician will take precision measurements of each rough opening. Because high-quality replacements require custom sizing to ensure an airtight fit, your windows will be custom-manufactured.
The lead time—the period between placing your order and the completion of manufacturing—typically lasts several weeks. During this time, your windows are built to maximize energy efficiency. This often includes upgrading to a triple-pane glass package filled with argon gas to create a dense thermal barrier against extreme weather conditions.
Phase 3: Scheduling the Installation Date
Once your custom products are ready, we will contact you to secure your installation date. We closely monitor local weather conditions, as heavy rain or extreme freezing temperatures can affect how sealants and caulking cure. If the weather looks uncooperative, we work with you to safely pivot to the next best day.
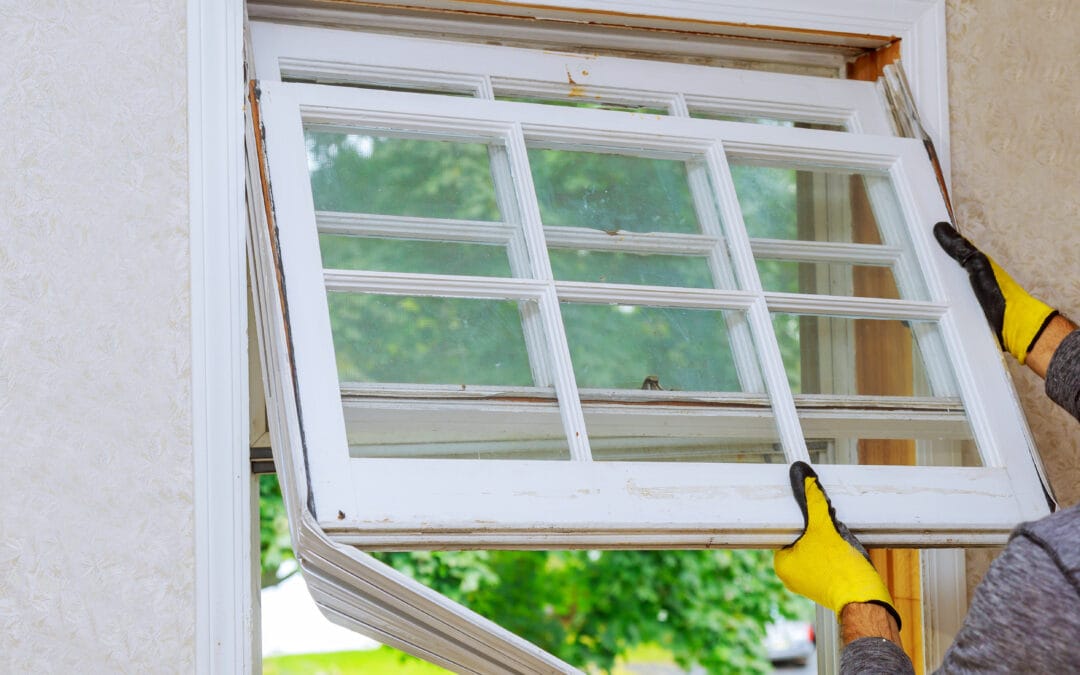
Phase 4: Installation Day
On installation day, the crew’s priority is protecting your home. Installers will lay down drop cloths inside and outside the work area to catch debris.
A professional window installation moves remarkably fast. For an average-sized home, the actual physical swap usually takes just 1 to 2 days. The team will carefully remove the old units, inspect the framing, slide the new units into place, level them perfectly, and apply specialized foam insulation. Finally, they seal the exterior with exterior caulking to lock out moisture and drafts.
Enjoying the Return on Your Investment
The moment your project is complete, you’ll notice an immediate upgrade in home comfort. By stopping heat loss in the winter and keeping the heat out in the summer, your new investment works around the clock to lower your monthly energy costs.
Ready to jumpstart your own window replacement timeline? Contact Premier North Windows and Doors Inc today to schedule your consultation and take the first step toward a more efficient, beautiful home.