When homeowners choose vinyl windows, they invest in long-lasting durability, high energy efficiency, and remarkably low maintenance. However, even the best window installations require routine care to preserve their appearance and smooth operation. Knowing how to clean vinyl windows correctly ensures you protect your investment while keeping your home looking bright and fresh.
At Premier North Windows and Doors Inc, we want to help you get the most out of your replacement windows. Follow this straightforward guide for effective, damage-free vinyl window maintenance.
What Supplies Do You Need?
Before you begin, gather gentle, non-abrasive tools to protect your window frames and glass.
- A bucket filled with warm water
- A mild detergent or mild dish soap (avoid harsh chemicals)
- A soft cloth, microfiber cloth, and a non-abrasive sponge
- A soft brush or soft-bristled brush
- A standard vacuum with a hose attachment
- A rubber squeegee
- A quality commercial glass cleaner or vinegar-and-water cleaning solution
Step 1: Clean the Window Tracks and Hardware
Dirt and debris naturally collect in window tracks, which can bind the operating mechanism over time.
- Open your window (especially convenient if you have double hung styles with tilt-in sashes).
- Use a vacuum nozzle to clear away loose dust, bugs, and pollen from the track crevices.
- Gently scrub stubborn grime using a soft-bristled brush dampened with a splash of dish soap and water.
- Wipe the tracks dry with a microfiber cloth.
- Inspect the moving hardware and latches, then apply a silicone-based spray to lubricate the mechanisms so they slide effortlessly.
Step 2: Wash the Vinyl Window Frames
While vinyl resists rotting and warping, using improper cleaning methods can cause permanent surface damage or unsightly discoloration.
- Fill your bucket with warm water and add a few drops of mild dish soap.
- Wipe down the exterior and interior window frames using a soft sponge or soft cloth.
- For stubborn grime, scrub gently with a soft brush.
- Rinse thoroughly with clear water to ensure no lingering soap residue attracts fresh dirt.
Crucial Warning: Never use bleach, industrial solvents, strong household cleaners, or abrasive materials like steel wool. Avoid using high-pressure washers, which can compromise the window seals and damage your exterior wall envelope.
Step 3: Clean the Glass and Screens
Once the frames are clean, focus on the glass pane and mesh screens to maximize light and visibility.
- Window Screens: Remove the window screens, lay them flat on a clean surface, and wash them gently using a hose on low pressure and a soft sponge with soapy water. Let them dry completely before reinstalling.
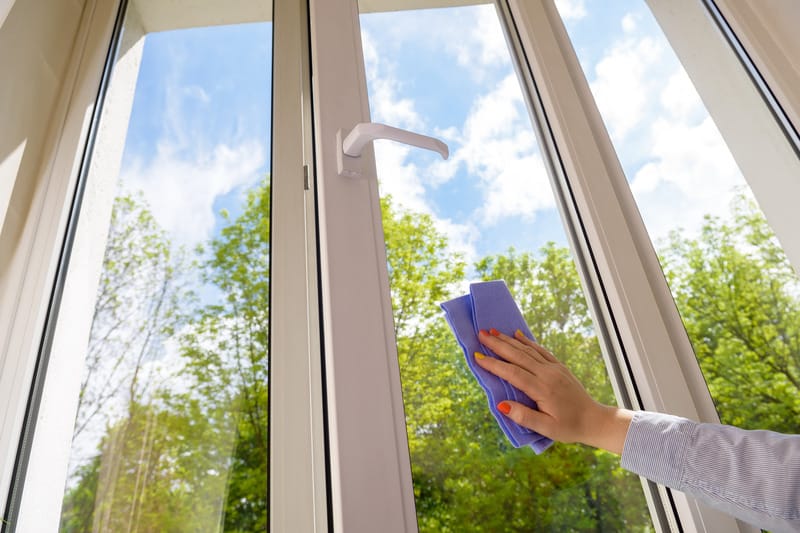
- Clean the Glass: Spray the glass with a recommended glass cleaner or a homemade mixture. Wipe in a Z-motion using a microfiber cloth or use a squeegee to remove excess liquid for a streak-free finish. Avoid using cheap paper towels, which leave behind unwanted lint.
Step 4: Check Weatherstripping and Condensation
To protect your home's thermal barrier, inspect the rubber or felt weatherstripping along the sash edges. If you notice cracks, tearing, or missing pieces, replacing them will help maintain your home's energy efficiency.
Finally, check for any moisture between the glass panes. Surface condensation on the interior glass usually signals high indoor humidity, but fogging between double or triple panes indicates a broken seal that may require professional service.
Need Professional Guidance?
Proper care keeps your home bright, quiet, and comfortable year-round. If your old windows show signs of severe warping, seal failure, or permanent frame damage, upgrading to modern replacements is the best way to save on energy costs.
Visit Premier North Windows and Doors Inc today to explore our premium window options or to schedule an expert consultation!